📸Venue Photos: Help Us Plan Your Camera Locations
Hey there — we're excited about your show!
When we haven't filmed in a venue before, we like to see the space in advance. This helps us plan the best locations for our cameras and crew before show day.
Below are the 4 types of photos that are most helpful. Depending on your venue, you may need to send more than four individual pictures.
These photos help us evaluate camera angles, seating and audience areas, aisles, equipment locations, and audio connections. The result is better planning, cleaner camera angles, and higher-quality footage of your event.
✅ PICTURE #1 - FROM STAGE TO SEATS:
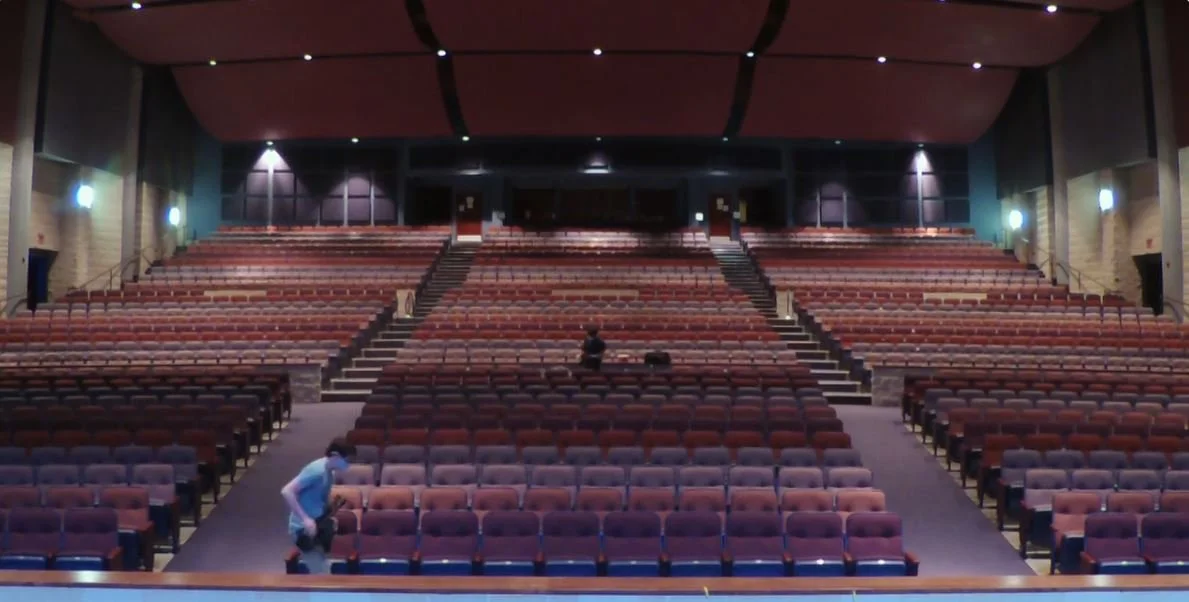
WHY WE NEED IT: This angle helps us see your tech booth, elevated seating areas, aisles, and the amount of space between the stage and front row.
HOW TO TAKE IT:
1 - Make sure the house lights are up.
2 - Stand at center stage and point the camera toward the audience.
3 - Try to capture the entire width of the audience seating in one picture. If it won't fit, take separate pictures of the left, center, and right sections.
✅ Picture #2 - From Seats to Stage:

WHY WE NEED IT: This shows us what our cameras will see when they're pointed toward the stage and helps us identify aisles, wheelchair areas, cut-outs, or other spaces where a camera might be positioned.
HOW TO TAKE IT:
1 - Make sure the house lights are up.
2 - Stand at the center rear of the audience seating and point the camera toward center stage.
3 - Try to capture the entire width of the space in one picture. If it won't fit, take separate pictures showing the left, center, and right sections.
✅ PICTURE #3 - SIDE ANGLE:
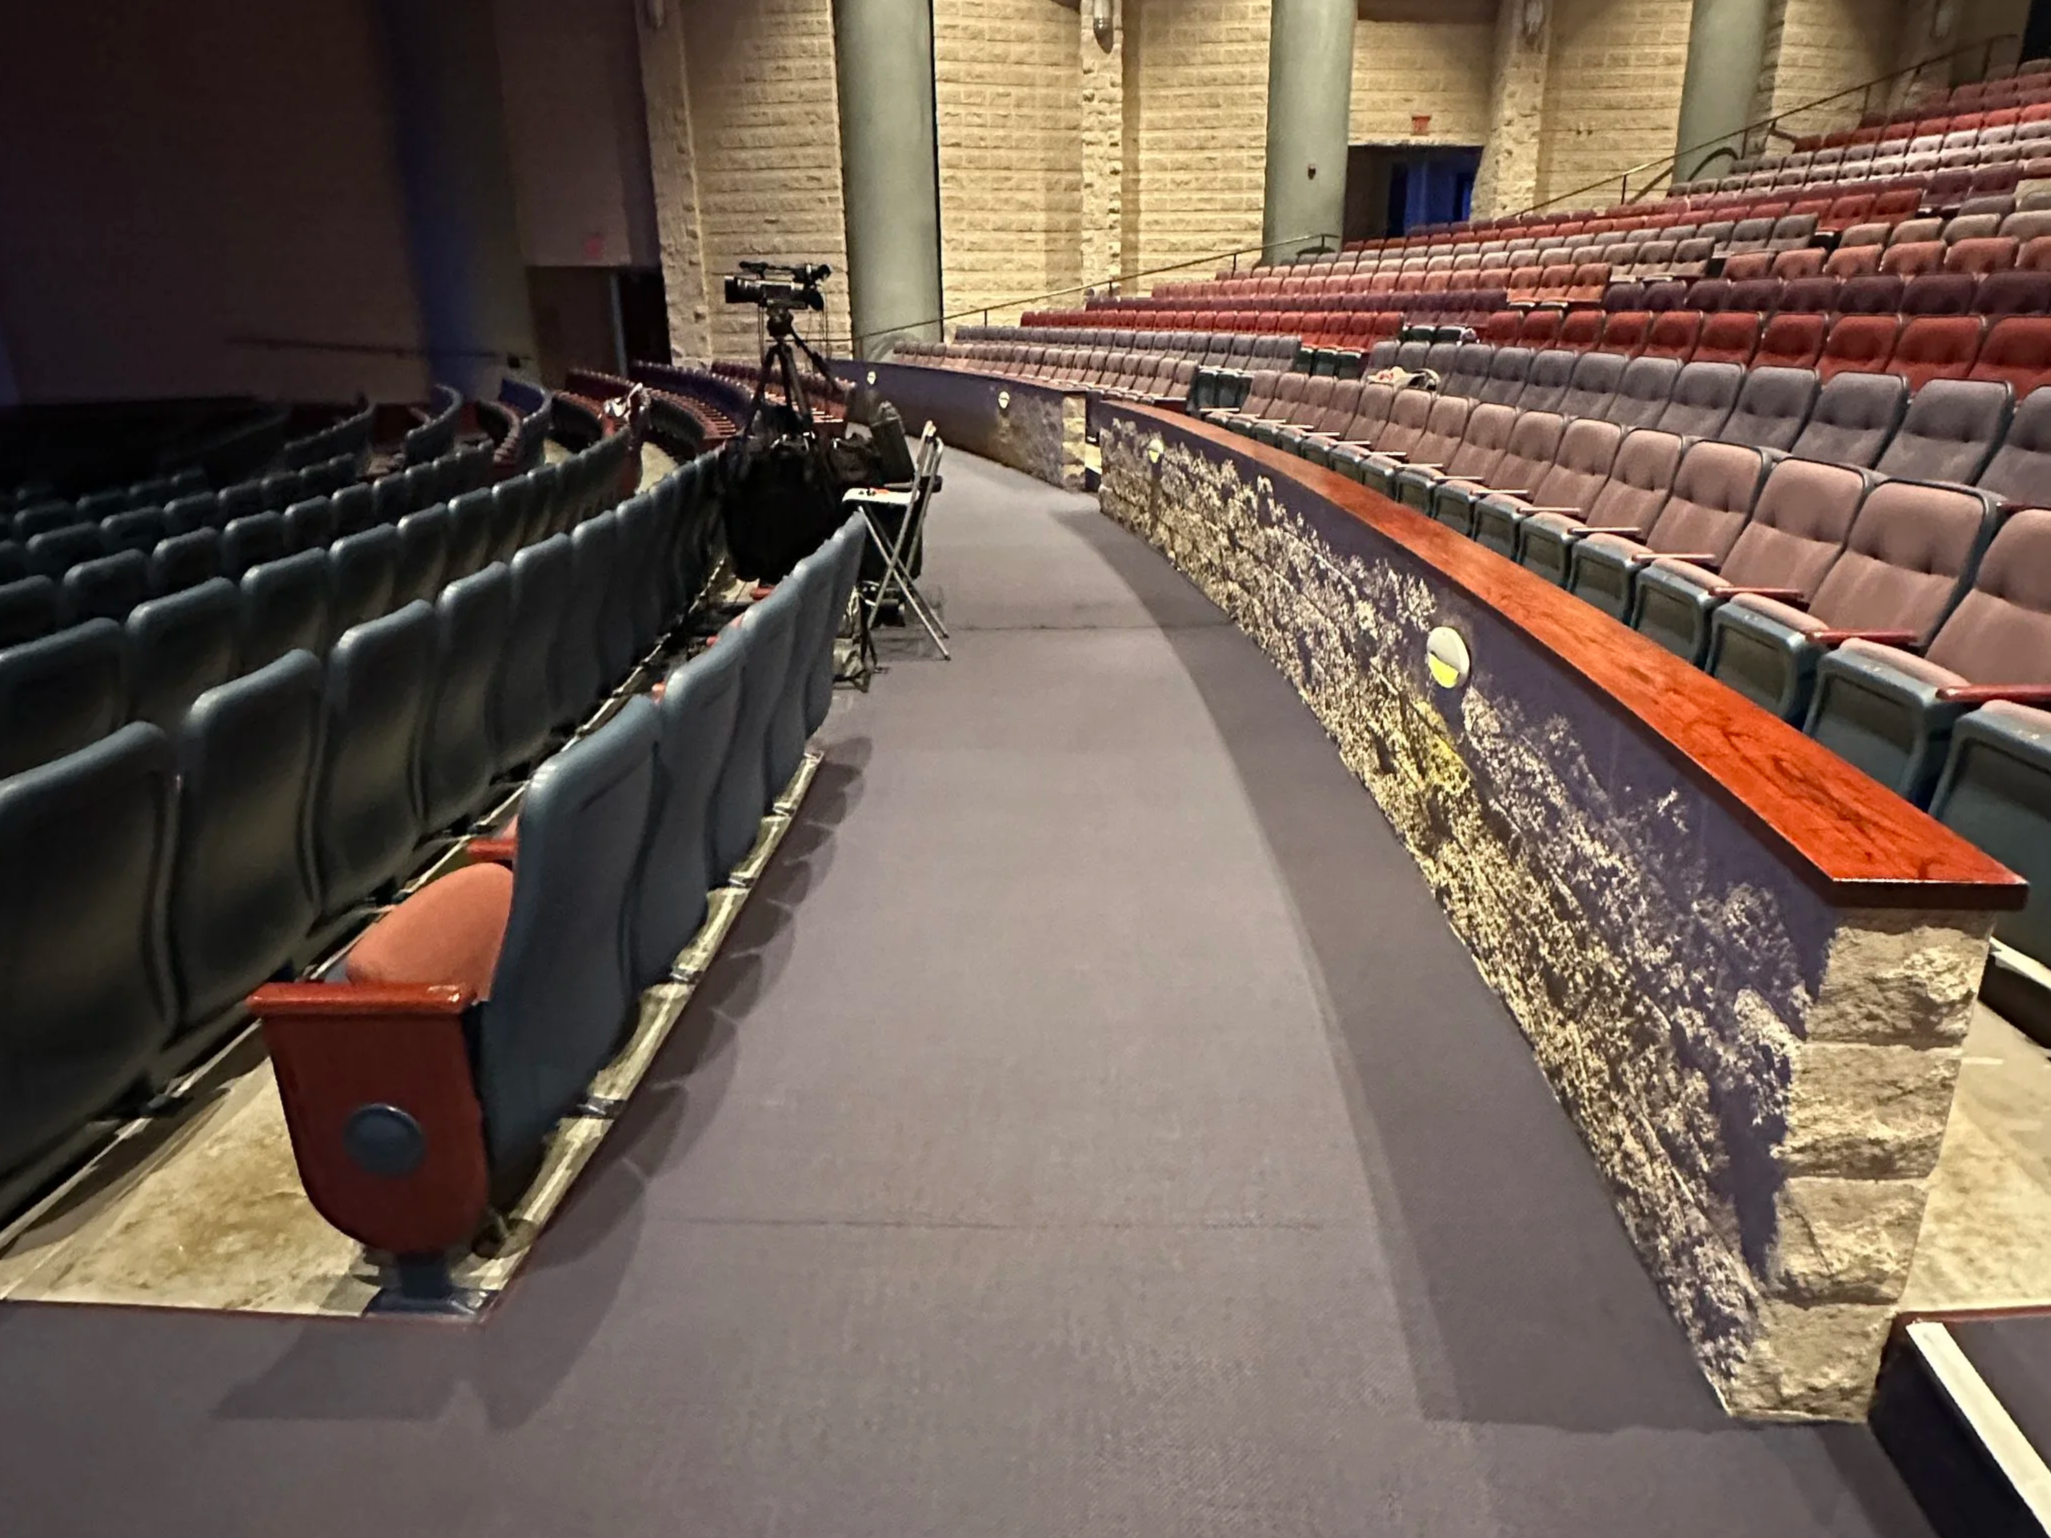
WHY WE NEED IT: This angle helps us see the width and depth of aisles, wheelchair areas, cut-outs, or open spaces that aren't always visible in the first two pictures. These areas may provide good locations for cameras without interfering with audience seating.
HOW TO TAKE IT:
1 - Make sure the house lights are up.
2 - Stand along one side of the audience seating and take a side-angle picture across the room.
3 - If your venue has multiple aisles running parallel to the stage - for example, one through the middle of the seating and another behind the last row - please photograph each aisle.
✅ PICTURE #4 - SOUND BOARD: BRAND / MODEL / OUTPUTS:
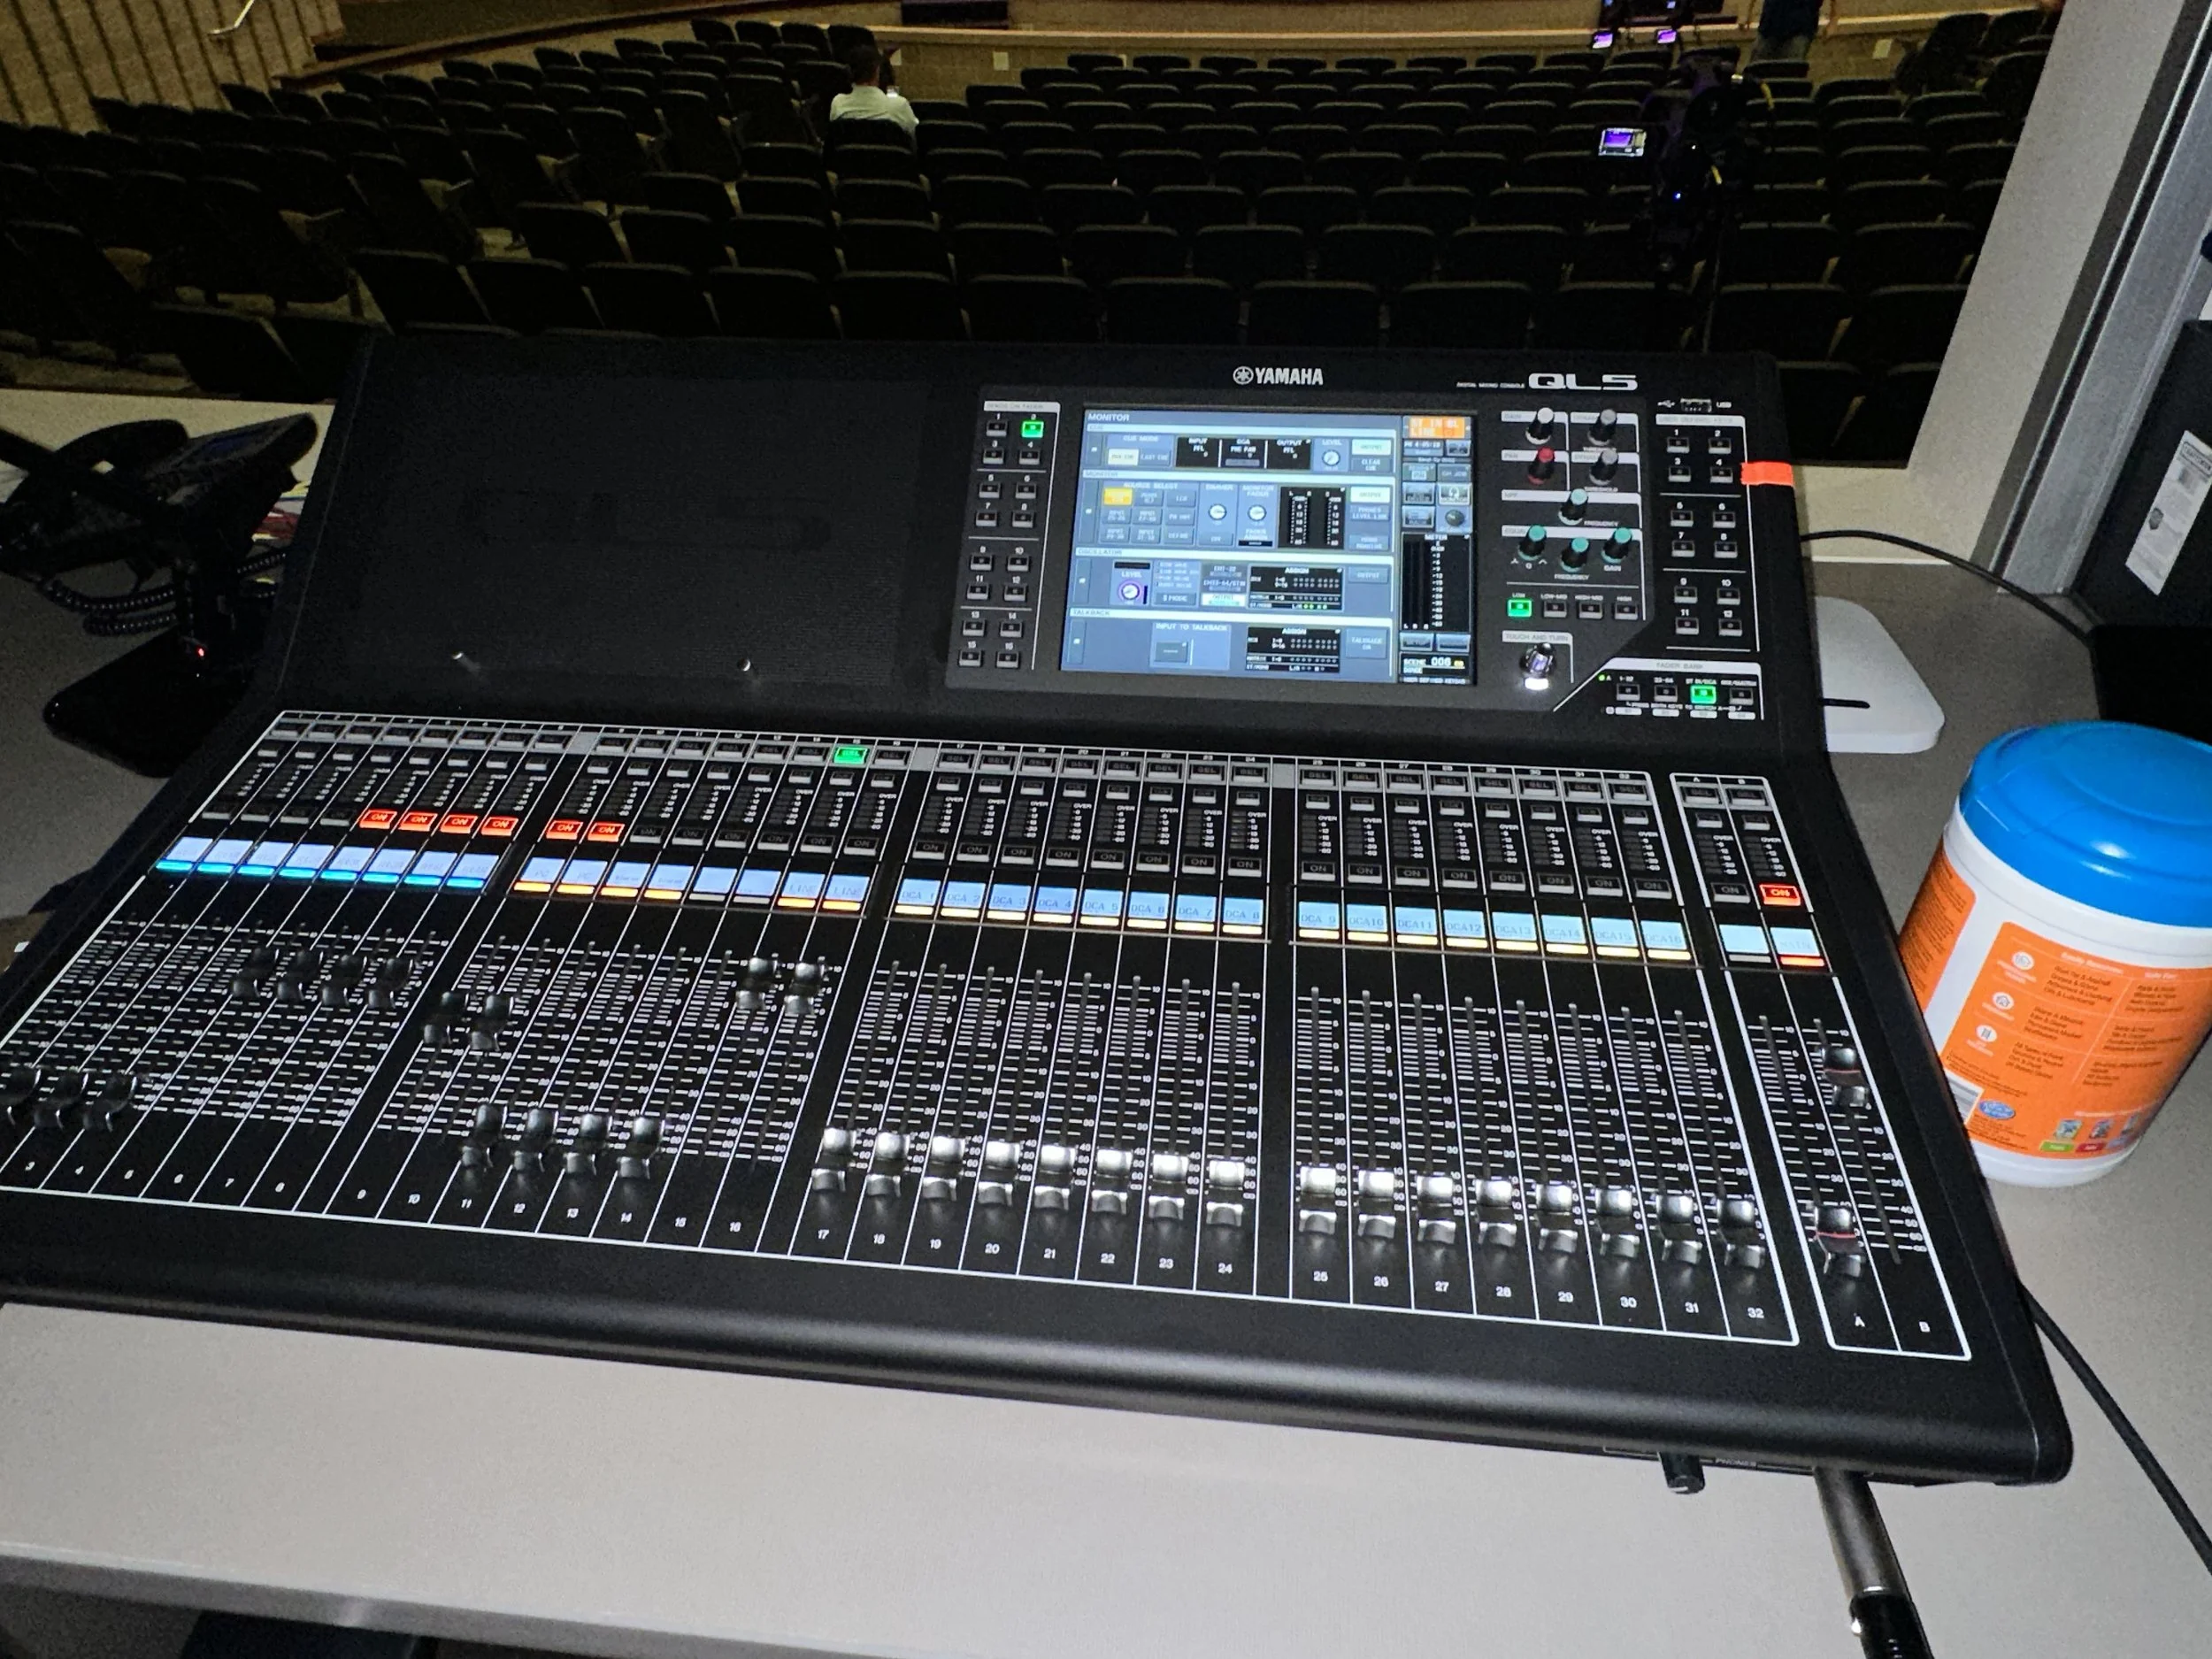
WHY WE NEED IT: This helps us identify your exact sound system and research the best way to connect our recording equipment. Whenever possible, we capture a direct audio feed of the music, microphones, and other sound being sent through your venue's system.
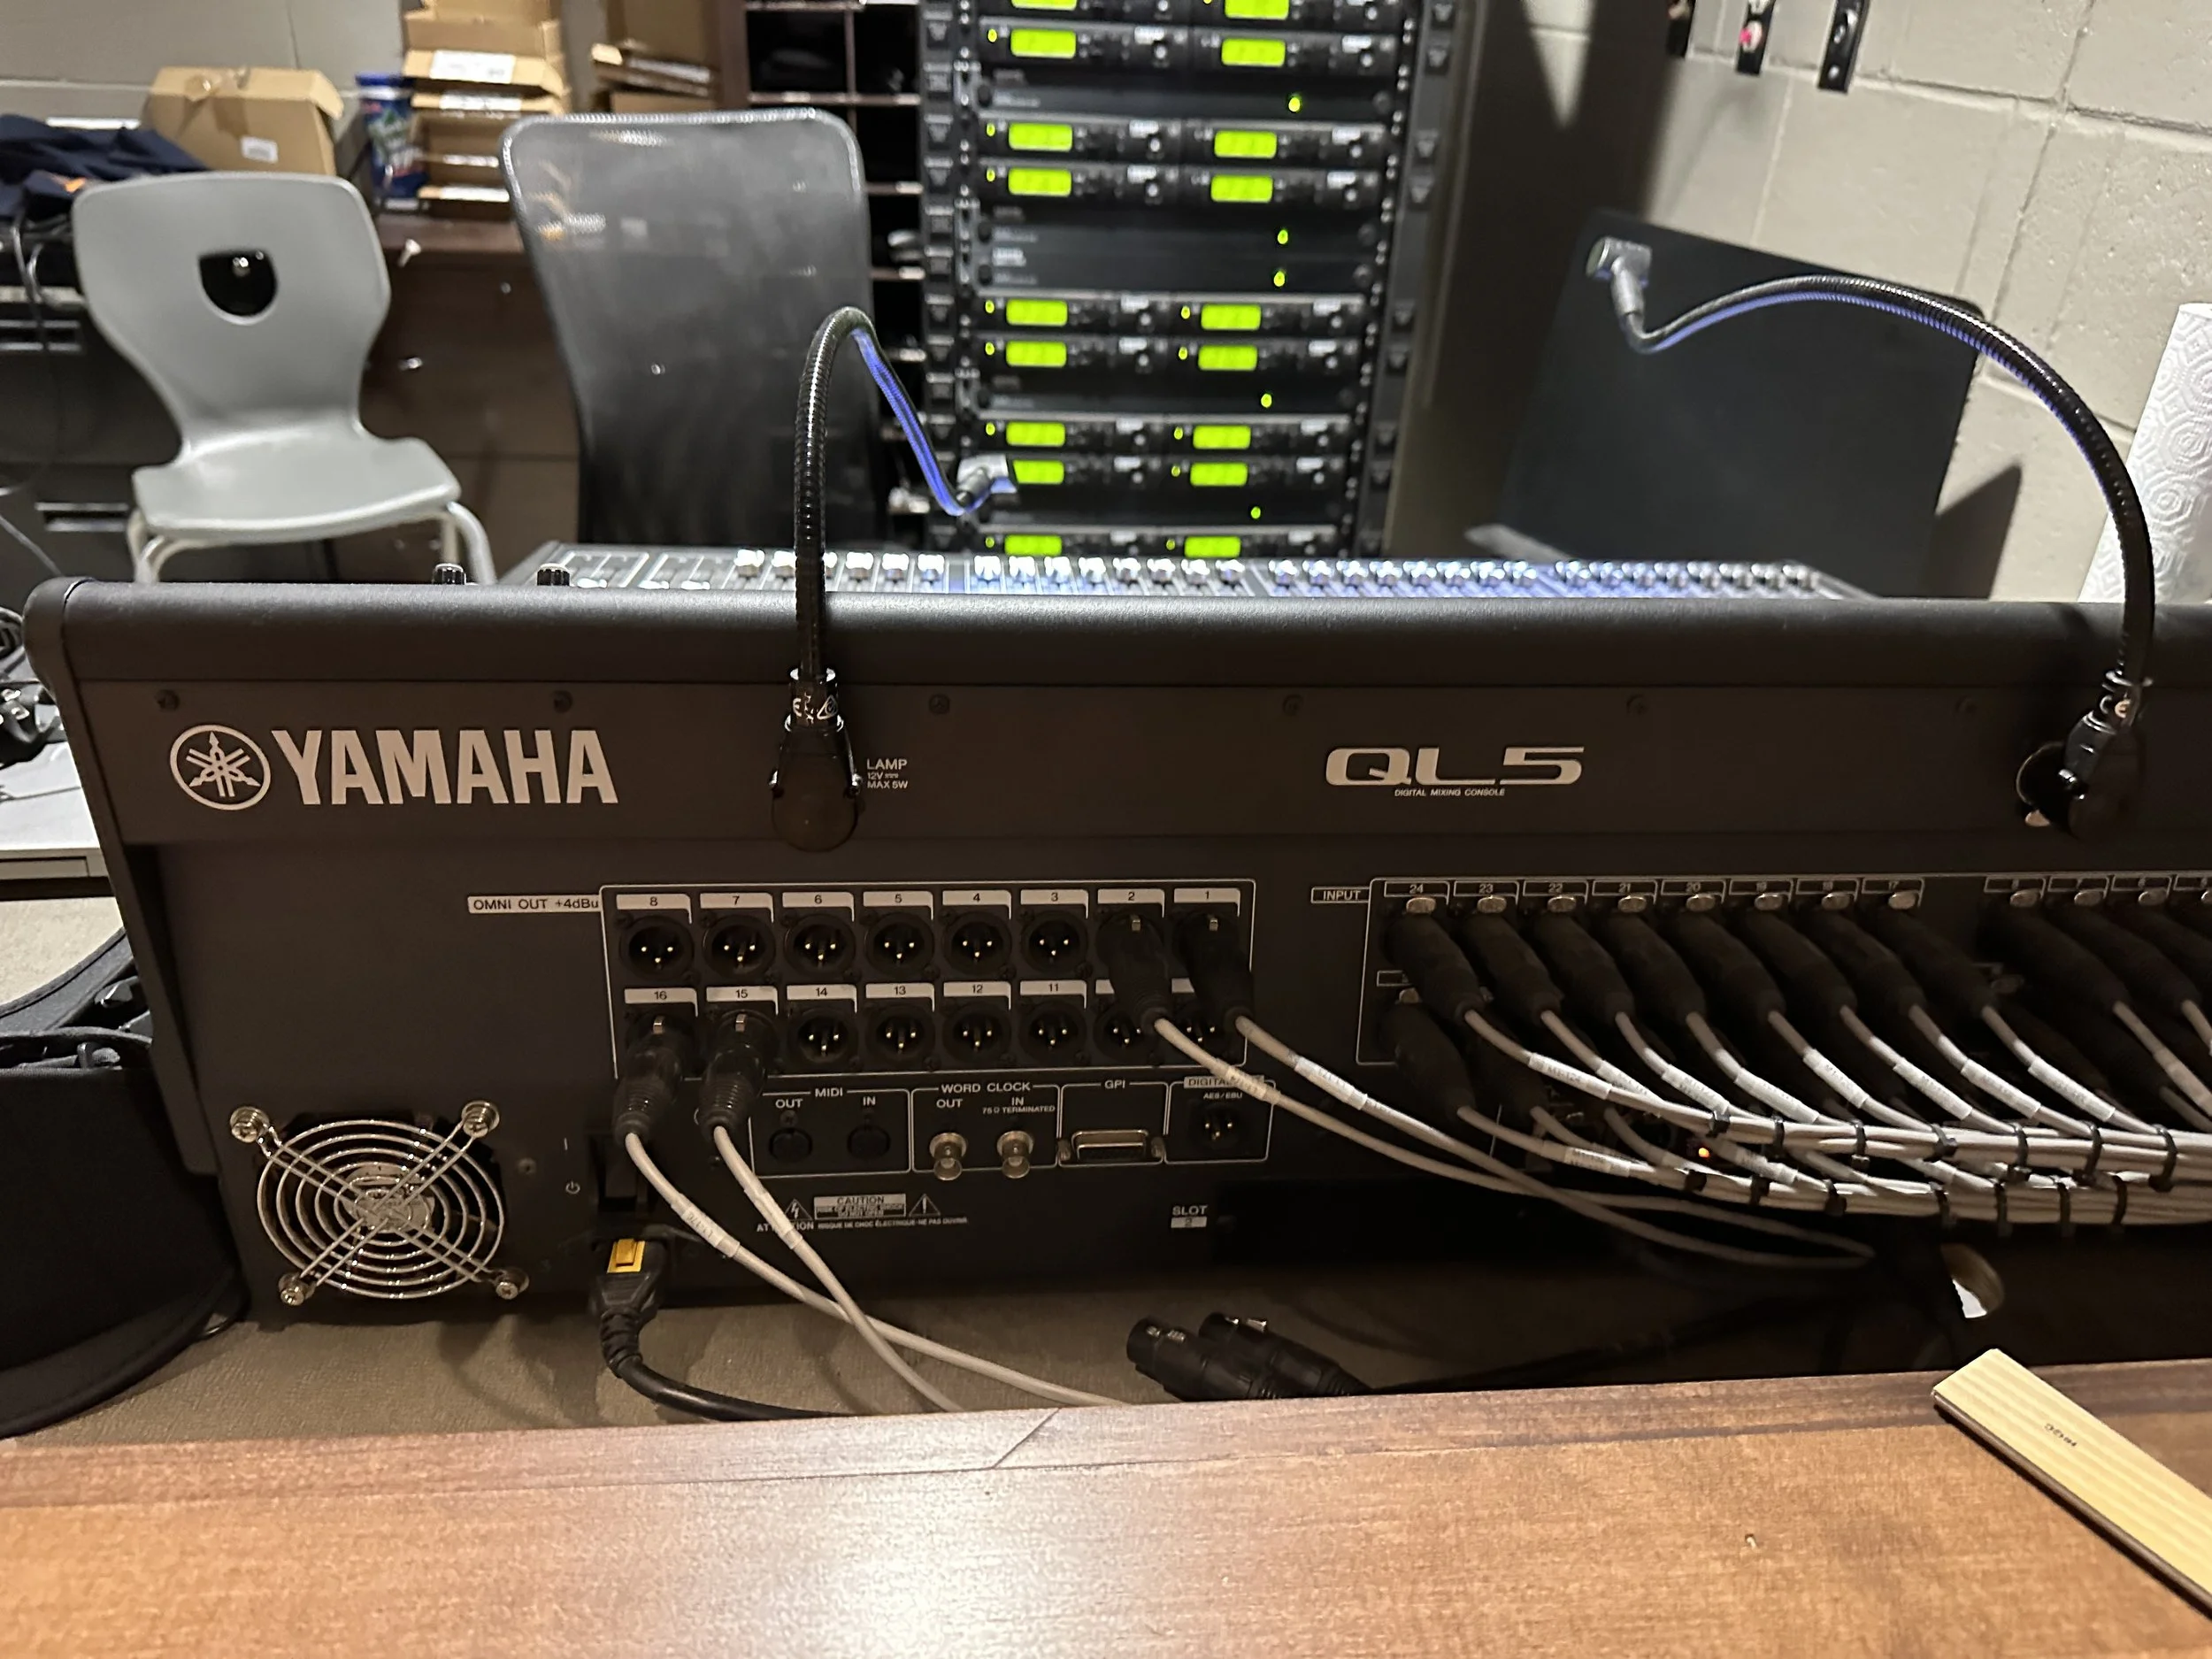
HOW TO TAKE IT:
1 - Identify the sound board or audio system that will be used for your show.
2 - Take pictures that clearly show the brand name, model number, and available OUTPUT connections. We're looking for outputs rather than inputs because outputs are where our recording equipment may connect to receive audio from your system.
3 - Take multiple pictures if necessary. Depending on the sound board, the information and connections we need may be on the front, back, or sides.
✅OTHER PICTURES:
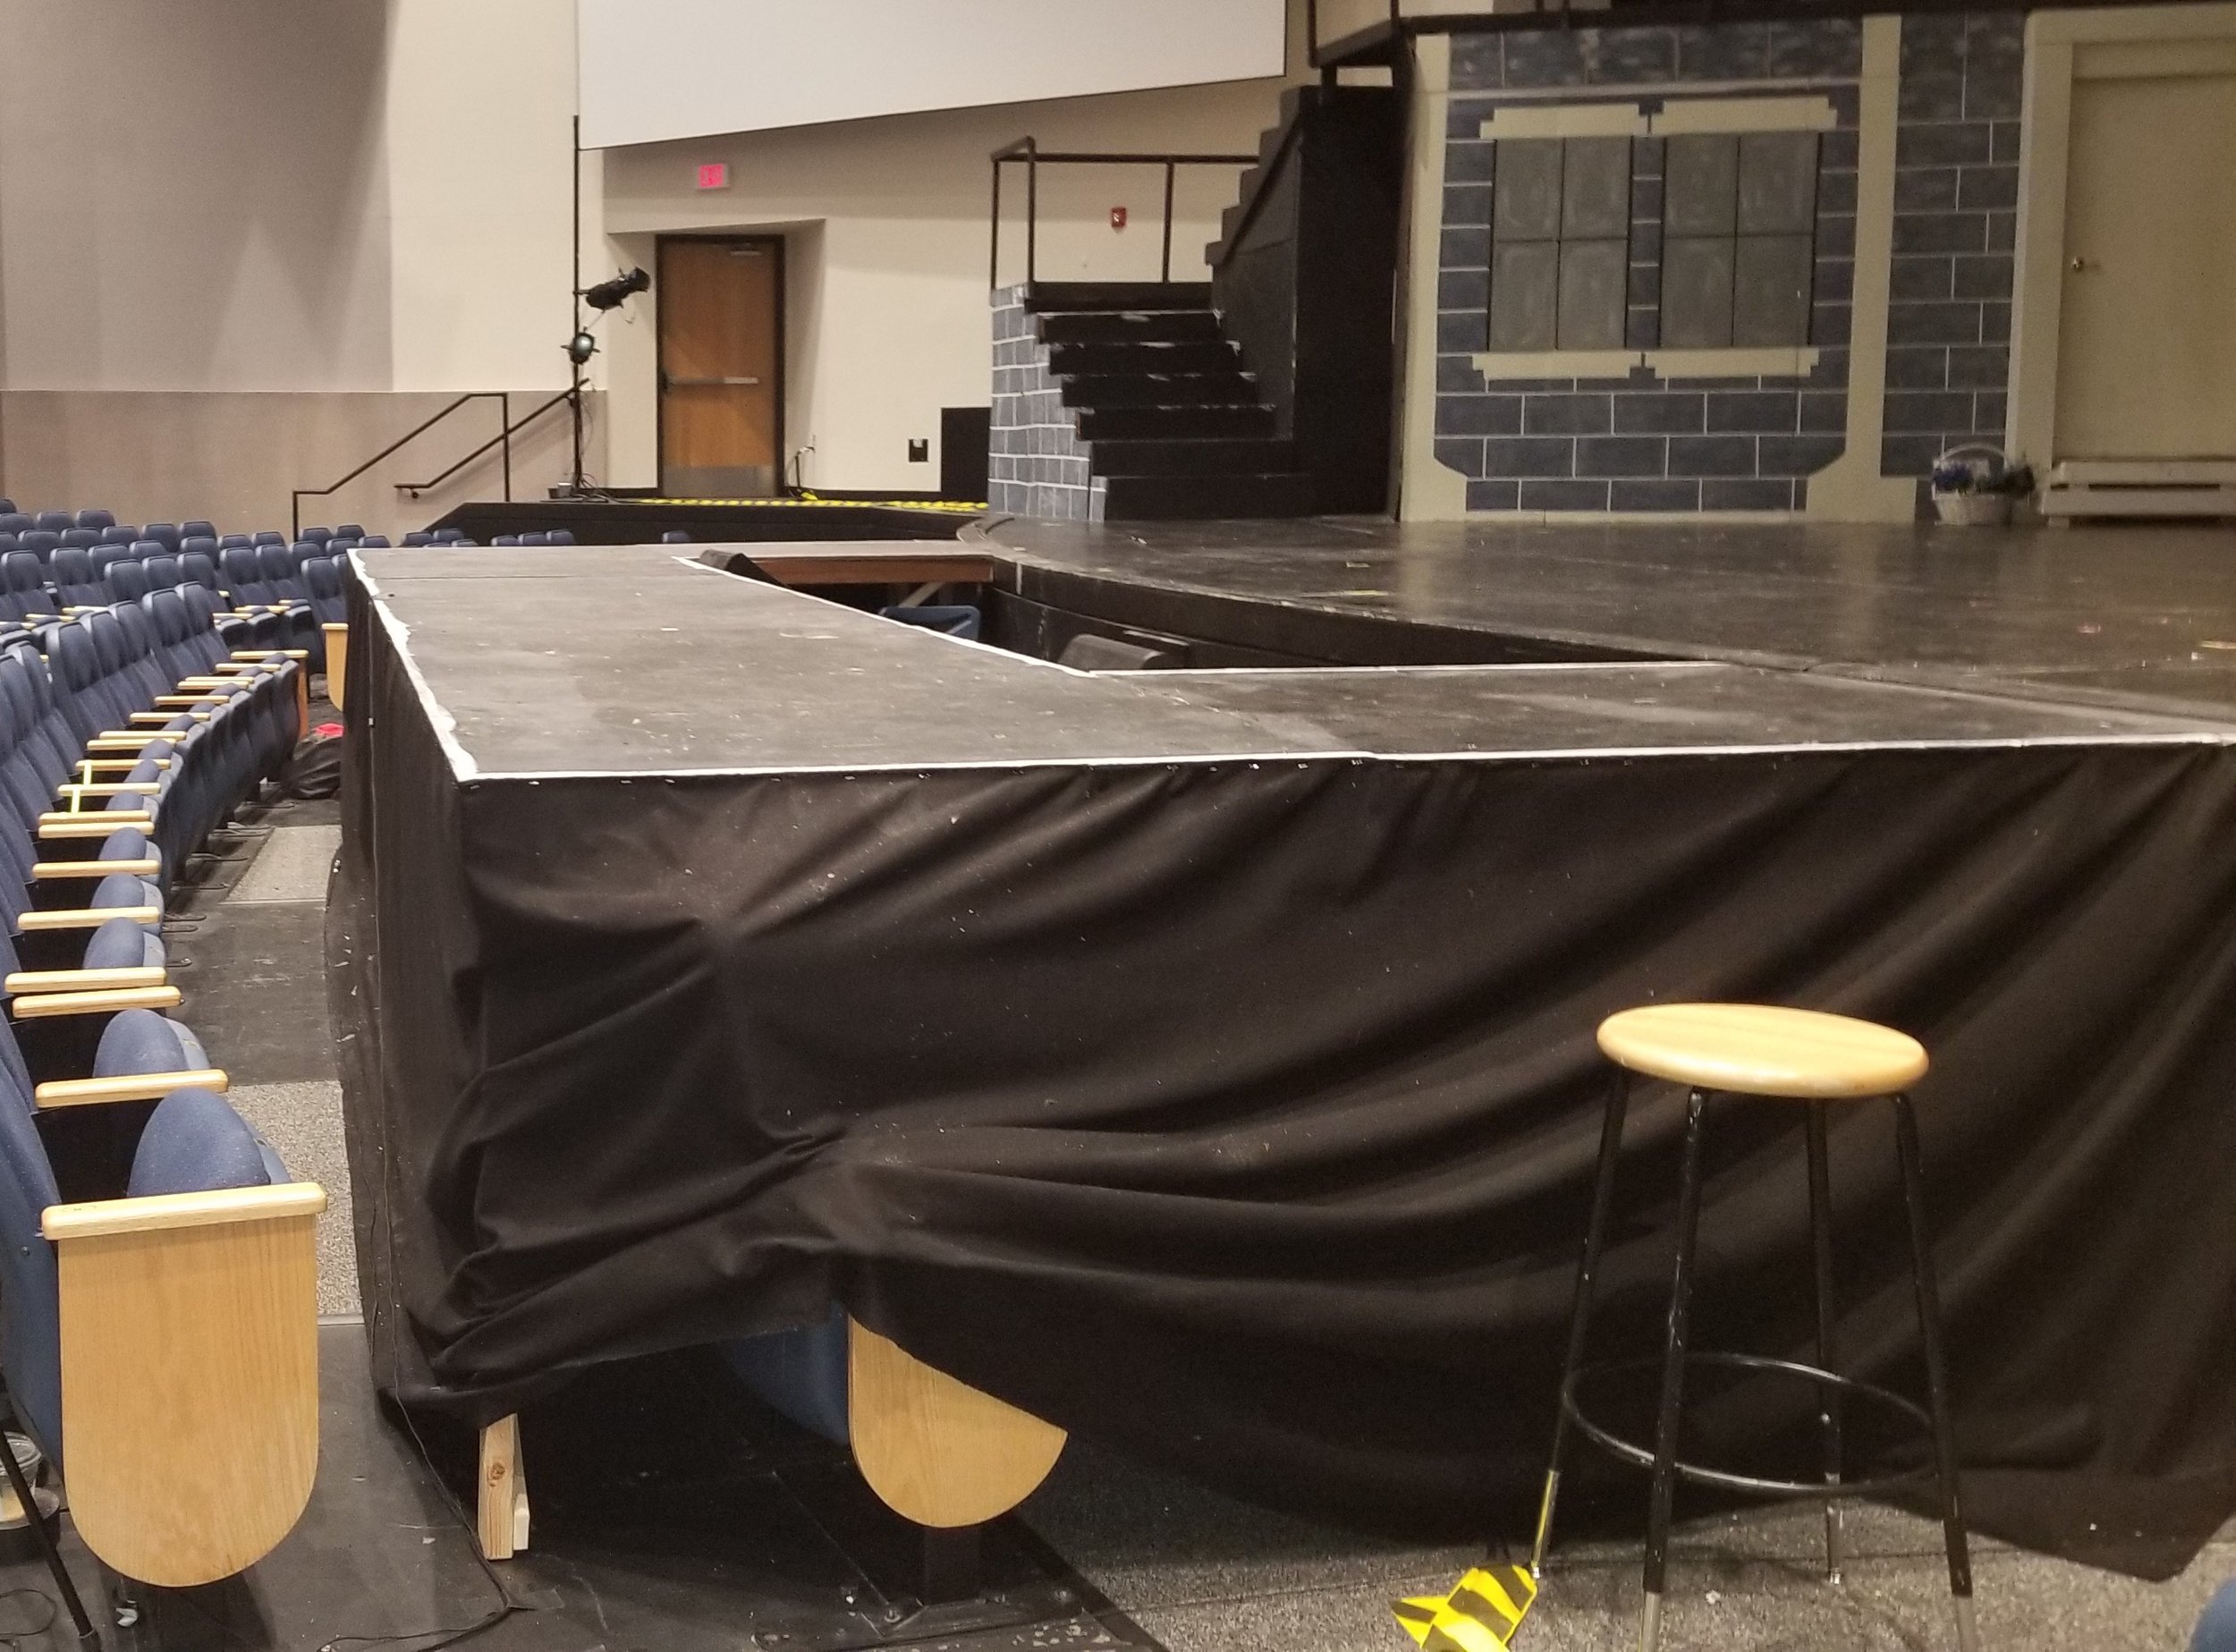
Anything unusual about your venue or production? We'd love to see it.
Feel free to send additional pictures that could help us prepare, including:
Unusual features of the venue
Additional angles of the audience seating or stage
Special staging, props, or production elements that may affect camera placement
Catwalks, balconies, platforms, or elevated areas
Entrances or aisles that performers will use during the show
The best doors, parking areas, or loading locations for bringing in production equipment
🚀 Ready to send them?
Email your venue photos and any seating chart or venue diagram you have to sharpshootersvideo@gmail.com.
Thanks for helping us plan ahead. We'll use this information to determine the recommended camera locations for your production and will follow up with your Venue Seating Agreement for review and approval.